


Affiliate Disclaimer
Some links in this article are affiliate links. We may earn a small commission if you make a purchase through these links, at no extra cost to you. We only recommend products we find useful to our readers
So, you coloured your hair. But, did you know that hair tends to grow around one centimeter every month? Well, this does vary from person to person. Now this new grown hair, from the roots is obviously isn’t going to be coloured, because it is brand new and freshly grown out of your head. So, there is going to be a difference between it’s colour and the colour of the rest of your hair. This can disturb a little bit of your hair styling and beauty, as it can be shown after a few months.
So here are some, step by step guide to perfect hair root touch up, for a perfect beauty and a perfect hairstyle.
1Root touch-up at home

For your root touch up, you are basically going to colour your new hair at the roots. So, that it can blend in seamlessly, with the rest of your already coloured hair. It is very simple and doesn’t require a lot of time.
2Things you will need
So, here is what we need for colouring;
- Creme and developer
- Remember to choose the same colour that you have used to colour your hair originally
- Petroleum jelly to avoid stain in your skin.
- A hair colour brush to apply the colour onto your hair
- A non metallic mixing bowl to mix the creme and developer together
- A tail comb, this can help you to section your hair neatly and easily
- Gloves to keep the colour off your hands
- Hair clips, so you can clip away sections of your hair that you are not working on up at the moment
- A towel in case you make a mess
Tip: If you use a hair colour product that is non-drip, it can make things a lot more easier and simpler.
So now, that you have everything placed; you may need at least about 40 minutes to complete this whole process, which also includes waiting around time.
3Hair sectioning
Make sure that your hair is completely dry and there is no oil, serum, hair spray or any product on it at all. Dry hair will absorb the colour better and you may get more bang for your buck. Run a comb through your hair to detangle any knots. It will help when you are actually applying the colour.
Use your tail comb to divide your hair in four sections, and clip them up. By this process, you can work on each section separately and this can also help keep it organized.
4Stain proof your skin
Grab some petroleum jelly and apply it along your hairline, as well as neck line. Put the towel on and clip it or tie it into place. Now empty out the creme and developer, into the mixing bowl. Put on a pair of gloves, before you start working with the colour. Mix both the creme and developer in one: one ratio. The advantage with a box colour is that you don’t run out of colour and you can store what is left over conveniently until the next root touch up. Mix the cream and developer, for a nice and even consistency. So, keep mixing it, until it looks really creamy.
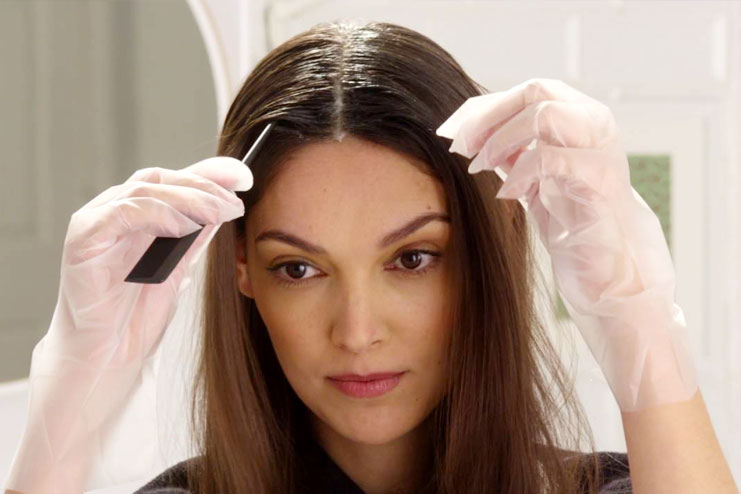
Apply the colour on the most visible roots, at the hair line around the face and the partition.
5Lets go for it
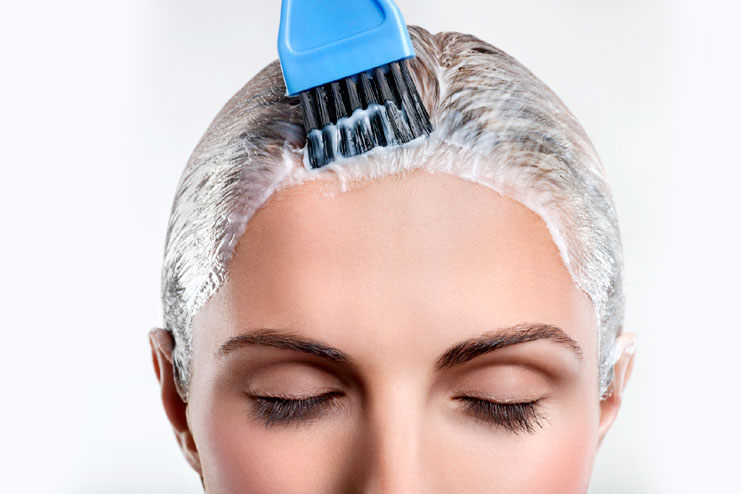
Starting from the center apply colour at the roots. Make sure that you apply colour all the way front he front hairline to the base of your neck. Apply the colour only on the newly grown roots, as you don’t want to add more colour to your already coloured hair, because that can make it more darker and the colours won’t match. Next step, apply colour on the cross section of your hair from ear to ear.
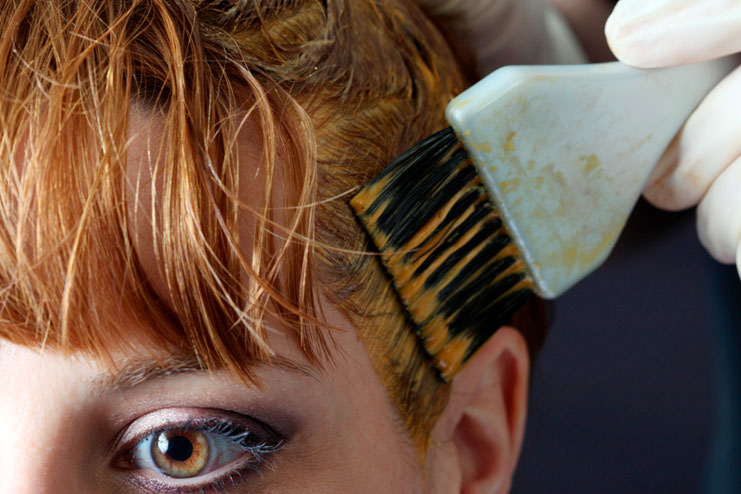
Now, apply colour on the hairline at the front. Unclip any of the first section in the front and start applying colour to the roots, taking horizontal sections that are parallel to your center parting. While colouring your roots, its essential to make sure that your sub sections are no thicker than one centimeter, to ensure an even application and proper penetration of the colour. Repeat in this way, until you reach the ear. Once, you are done with the first section, clip it out of the way, and repeat the same on the other side.
Now when, the front part is totally covered, start at the back of your head. Begin from the base of your skull. Take horizontal sections from the ear to the center vertical section. Colour the roots going upwards or either side, using the first base section as your guide for the next. Remember that no thicker than the one centimeter sub sections.
Repeat this in the next section at the back. That is about it for the application. Wait for the recommended development time, you may think that if you wait longer, it can make your colour look better, but it doesn’t. When you are done with your time, shampoo your hair. Some multi-application packs comes with the colour protect conditioner as well, for you to use post washing. Towel dry your hair and let it blow dry or air dry and you are done. Your roots now match the rest of your hair
So, there it is, your step by step guide on root touching at home. It is super easy and saves you a bunch of money.
How To Choose The Best Haircuts That Match Your Face Shape
By –


